Republished from www.shakacode.com
It’s Thanksgiving today! I’m taking a few minutes to put down a few thoughts that I hope will bring you, your family, and your friends “success” in the coming year.
Success is ambiguous. Is it being a millionaire? Being famous? Winning competitions?
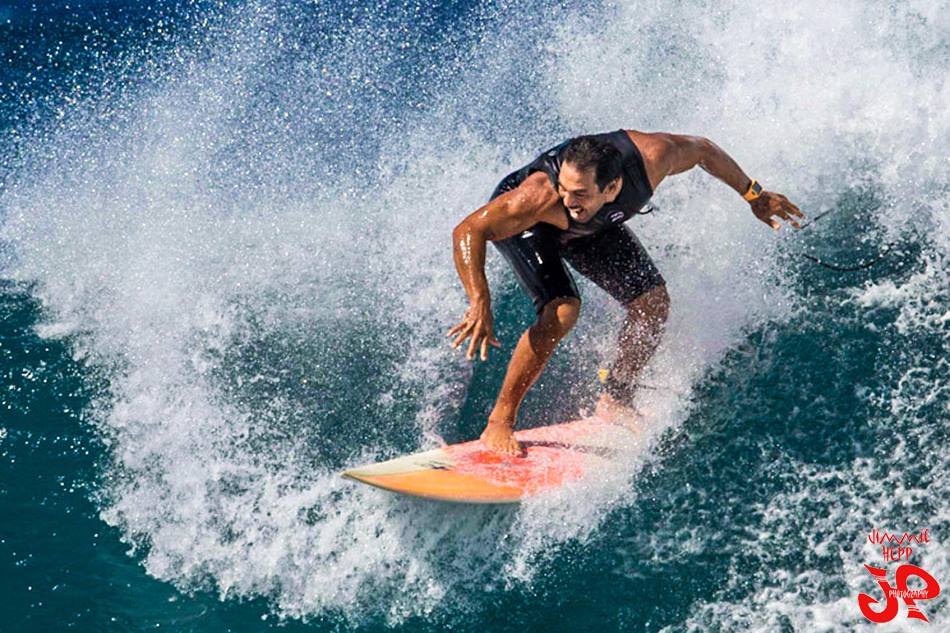
I’d say it’s happiness! This image captures part of my definition of success. Jimmie Hepp took this picture just a couple days before I wrote this article.
Note, I said happiness is just a part of success. Balance in life is key to success. While I have the means to spend all my time surfing, I’d find greater happiness in striking a balance with my other passion, which is creating great software and an organization called “ShakaCode”. ShakaCode is more than just a company; it’s a community. A large part of what ShakaCode does is giving away free code and training to world’s software community, as shown by our open source projects, our ShakaCode forum, and my RailsOnMaui blog.
A big part of the DNA of ShakaCode is that we’re remote first. This means that you can be involved with ShakaCode regardless of just about any factor other than having a decent computer, good Internet, and a true passion to learn and contribute. And if you have family duties, just hate time wasted commuting, or want to live at a ski resort or a remote surf break – that’s all OK. Educational background, ethnicity, nationality, gender, age, etc. all do not matter to us. All of our team members share this philosophy and this is how we find new team members.